
- you can find the announcement of the Double Dutch Random Sampler QAL here at Lotjes blog.
- you can find the tutorial for the first block here on her blog.
- you can find the tutorial for the second block on Muriel's blog here
- you can find the tutorial for the third block on Eva-Marie's blog here
- you can find our dutch modern quilting group "double dutch" on Flickr here- and you can join the QAL on Flickr here
Curves!
This month we are going to sew curves. It is a bit tricky, but fun to try if only this one time (at the end you can also find a no curves option).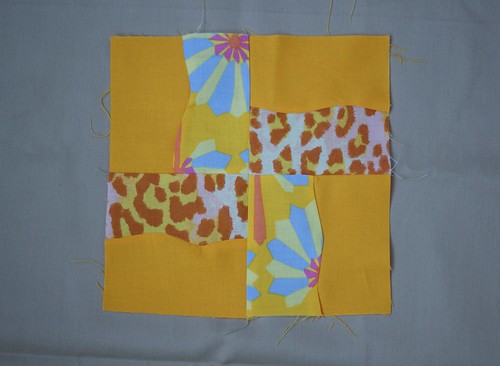
There are of course lots of different ways to sew curves. We are going to make improv curves. For instructions watch this tutorial. The curved part start about after 6 minutes. There are also other tutorials, pick the one you like best, but do watch a video, that really is the best way to see how it works.
Here is what you need for 6 inch block:
- two strips of the solid (yellow in my block) measuring 8 x 3"
- one strip of both print fabrics measuring 8 x 3"
That was easy, right?
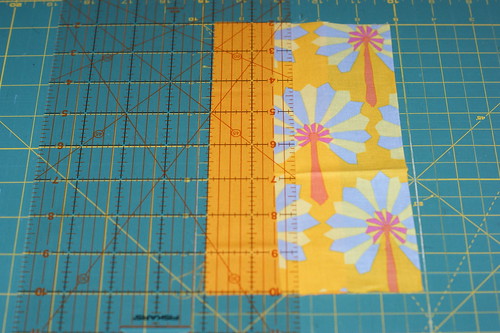
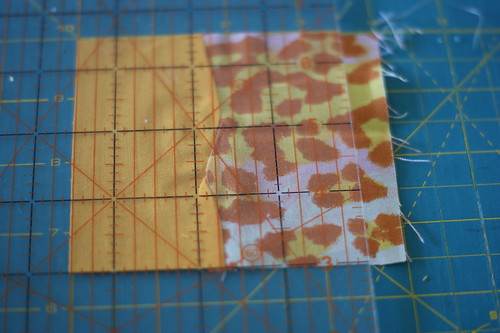
Then you but one solid and one print strip on top of each other like on the picture above. You don't use the ruler for cutting, I just put it there to keep the pieces in place (not sure that helped much). Keep in mind that the final blocks needs to be 3.5" so don't make the curves too deep.
I have made the measurment generous on purpose, so you can start cutting with straight line (1/2" or so). That way you get an easy start when you start to sew. If you wish you can trim the straight part of when your done. For instructions how to cut please see the youtube video, here is the link again.
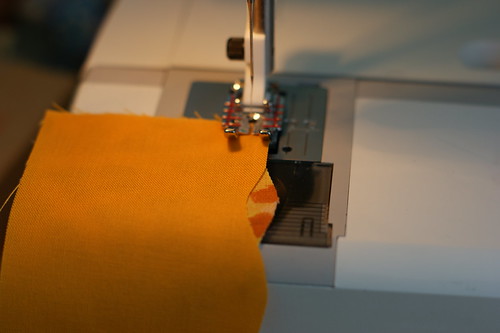
Sometimes when I use this method in the end the strips don't match. That's fine, you just trim that off. Here the yellow fabric is also a bit thicker than the print fabric which made it harder to sew, so if possible use same kind of fabric.
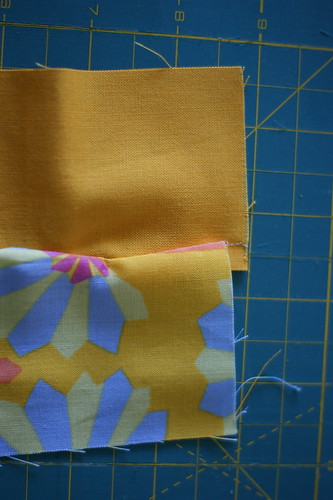
When you press the finished strips I like to start on the right side of the fabric so that all weird creases that you sometimes get with curves stay on the back side.

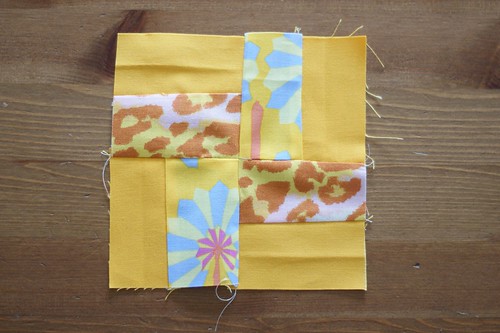
Then you make of each strip two 3.5" blocks, assemble them and sew them together.
For the quilt I might put my blocks on point.
Please, no curves!
As promised here is a no curves option. Repeat the steps above, but when cutting make a diagonal line with your ruler instead of curves. Quick and easy!